Set up for PBLEmulator is a powerful software solution designed to replicate specific hardware or software environments, allowing users to run programs, games, or applications that may no longer be natively supported on modern systems. Emulators like PBLEmulator play a critical role in software preservation, development testing, and enhanced user experiences. Whether you are a gamer revisiting classic titles or a developer testing legacy applications, PBLEmulator provides a flexible and reliable platform.
Setting up PBLEmulator correctly is essential to unlocking its full potential. A poorly configured emulator can result in performance issues, crashes, graphical glitches, or compatibility problems. On the other hand, a properly optimized setup ensures smooth operation, accurate emulation, and an enjoyable user experience across different systems.
This guide is designed for beginners and advanced users alike. It walks through every stage of the PBLEmulator setup process, from preparation and installation to advanced configuration and troubleshooting. By following this comprehensive guide, you will gain the confidence and technical understanding needed to run PBLEmulator efficiently and responsibly.
Understanding PBLEmulator Basics
At its core, PBLEmulator functions by mimicking the behavior of a specific system environment. This allows software designed for that environment to operate as if it were running on original hardware. Unlike simple software players, emulators must accurately reproduce system timing, input handling, and hardware responses to ensure compatibility and stability.
PBLEmulator supports multiple operating systems, making it accessible to a wide range of users. Whether you are using Windows, macOS, or Linux, the emulator offers comparable features and configuration options across platforms. This cross-platform compatibility makes PBLEmulator a popular choice among enthusiasts and professionals.
Understanding these fundamentals helps users make informed decisions during setup. Knowing what PBLEmulator can and cannot do prevents unrealistic expectations and encourages best practices. Emulation is resource-intensive by nature, so having realistic goals and a basic understanding of the emulator’s architecture greatly improves the overall experience.
Preparing Your System for PBLEmulator Setup
Before installing PBLEmulator, it is important to ensure your system is fully prepared. This includes verifying that your operating system meets the minimum requirements and that essential system components are up to date. Outdated drivers or unsupported operating systems can lead to crashes or poor performance.
Updating your graphics drivers is particularly important, as PBLEmulator relies heavily on GPU acceleration for rendering. Audio drivers should also be current to avoid sound distortion or latency issues. Additionally, disabling unnecessary background applications can free up system resources and improve emulator stability.
Recommended system specifications vary depending on how you plan to use PBLEmulator. Casual users may only need a mid-range CPU and integrated graphics, while advanced users running high-resolution enhancements or demanding applications will benefit from dedicated GPUs and higher RAM capacity. Preparing your system properly ensures a smoother setup process and long-term performance reliability.
Downloading PBLEmulator Safely
Downloading PBLEmulator from a reliable source is critical for security and performance. Official websites or verified repositories should always be your first choice. Third-party download sites may bundle malware, outdated versions, or modified files that compromise your system.
Once downloaded, verifying file integrity helps ensure that the installer has not been tampered with. Many official sources provide checksum values that can be compared against your downloaded file. This simple step significantly reduces the risk of installing corrupted or malicious software.
Avoid rushing through the download process. Take time to read documentation and release notes, which often contain important setup instructions and known issues. A safe and informed download process sets a strong foundation for a successful PBLEmulator installation.
Installing PBLEmulator Step-by-Step
Installing PBLEmulator is generally straightforward, but the process varies slightly depending on your operating system. On Windows, installation typically involves running an executable file and following on-screen instructions. Administrative permissions may be required for certain system-level changes.
On macOS, users may need to grant additional security permissions, especially if the emulator is downloaded outside the App Store. Linux installations often involve package managers or manual compilation, which requires familiarity with terminal commands and dependencies.
During installation, pay close attention to optional components and directory locations. Choosing a well-organized installation path simplifies future updates and troubleshooting. Addressing installation errors immediately—rather than ignoring them—prevents deeper configuration issues later on.
Initial Launch and First-Time Configuration
Set up for PBLEmulator The first launch of PBLEmulator is a crucial step in the setup process. Upon opening the application, users are typically greeted with a welcome screen or setup wizard. This initial configuration establishes core preferences that affect long-term usability.
Language and region settings should be configured carefully, as they influence file paths, keyboard layouts, and compatibility behavior. Default settings are usually sufficient for beginners, but advanced users may want to customize options early on.
Taking time during first-time configuration reduces the need for constant adjustments later. A clean initial setup ensures consistency across sessions and provides a solid starting point for further customization.
PBLEmulator Interface Walkthrough
The PBLEmulator interface is designed to balance functionality and accessibility. The main dashboard typically displays loaded files, system status, and quick-access settings. Familiarizing yourself with this layout improves efficiency and reduces confusion.
Menu options are organized into logical categories such as graphics, audio, controls, and system settings. Each section plays a specific role in emulator behavior. Understanding where settings are located saves time when making adjustments or troubleshooting problems.
Many users benefit from customizing the interface layout. Adjusting panel visibility, themes, or shortcuts can make navigation more intuitive. A comfortable interface enhances productivity and overall enjoyment when using PBLEmulator regularly.
Configuring Emulator Settings
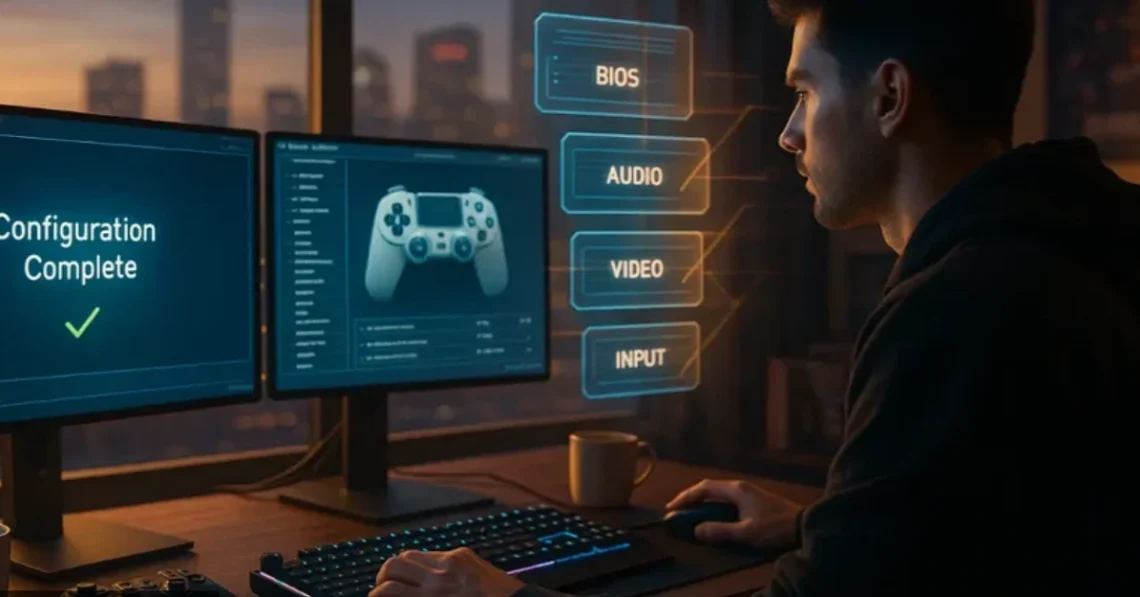
Set up for PBLEmulator Configuration is where PBLEmulator truly becomes personalized. Graphics settings control resolution, rendering methods, and visual enhancements. Choosing the right balance between performance and visual quality is essential, especially on lower-end systems.
Audio settings manage sound output, latency, and synchronization. Incorrect audio configuration can lead to delays or distortion, which negatively impacts immersion. Adjusting buffer sizes and output devices often resolves these issues.
Input configuration allows users to map controls according to personal preference. Whether using a keyboard or controller, accurate input mapping ensures responsive and intuitive gameplay or application control. Performance settings further optimize CPU and memory usage for smoother operation.
Conclusion
Setting up PBLEmulator correctly is a rewarding process that unlocks powerful capabilities. From installation to optimization, each step contributes to a stable and enjoyable experience. By following this guide, users gain the knowledge needed to configure PBLEmulator confidently and responsibly. Preparation, organization, and continuous learning are key to success. With proper setup and maintenance, PBLEmulator becomes a reliable and versatile tool for emulation, testing, and preservation.
Frequently Asked Questions (FAQs)
What is the best system configuration for PBLEmulator?
A modern multi-core CPU, updated GPU drivers, and at least 8GB RAM provide optimal performance.
Is PBLEmulator free to use?
Most versions are free, though optional features or builds may vary.
Can PBLEmulator run on low-end PCs?
Yes, with reduced graphics settings and performance optimizations.
How do I fix black screen issues?
Check graphics settings, BIOS files, and driver updates.
Are controllers required or optional?
Controllers are optional but recommended for better usability.
How often should PBLEmulator be updated?
Update when stable releases are available and always back up data first.
Is using PBLEmulator legal in my country?
The emulator is legal, but file usage must comply with local copyright laws.
Read More: Boil Water Advisory Harrisburg Neighborhoods